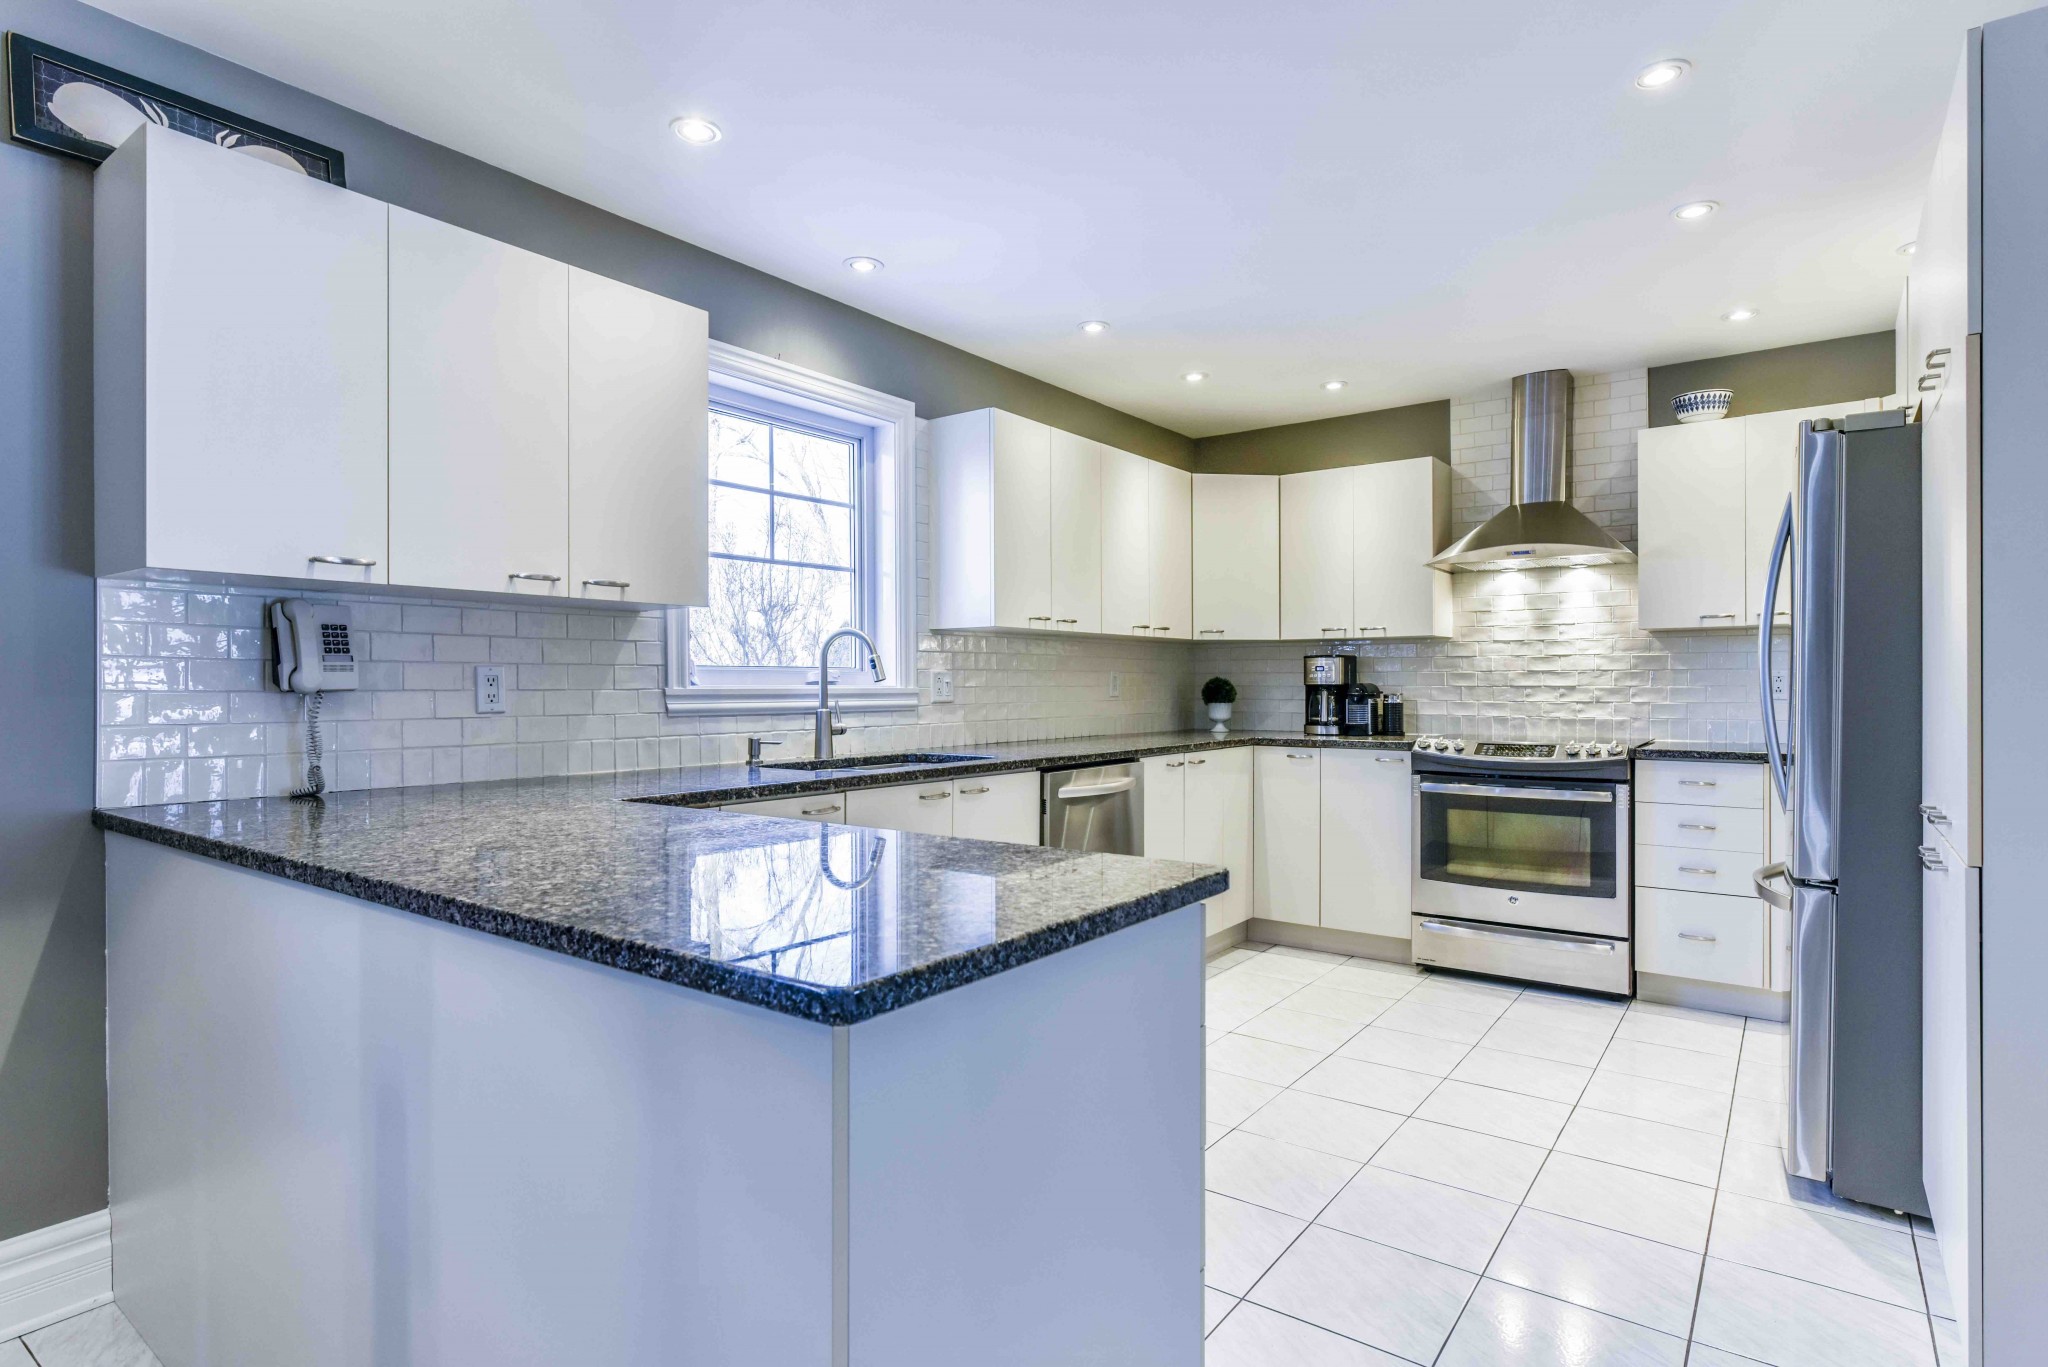
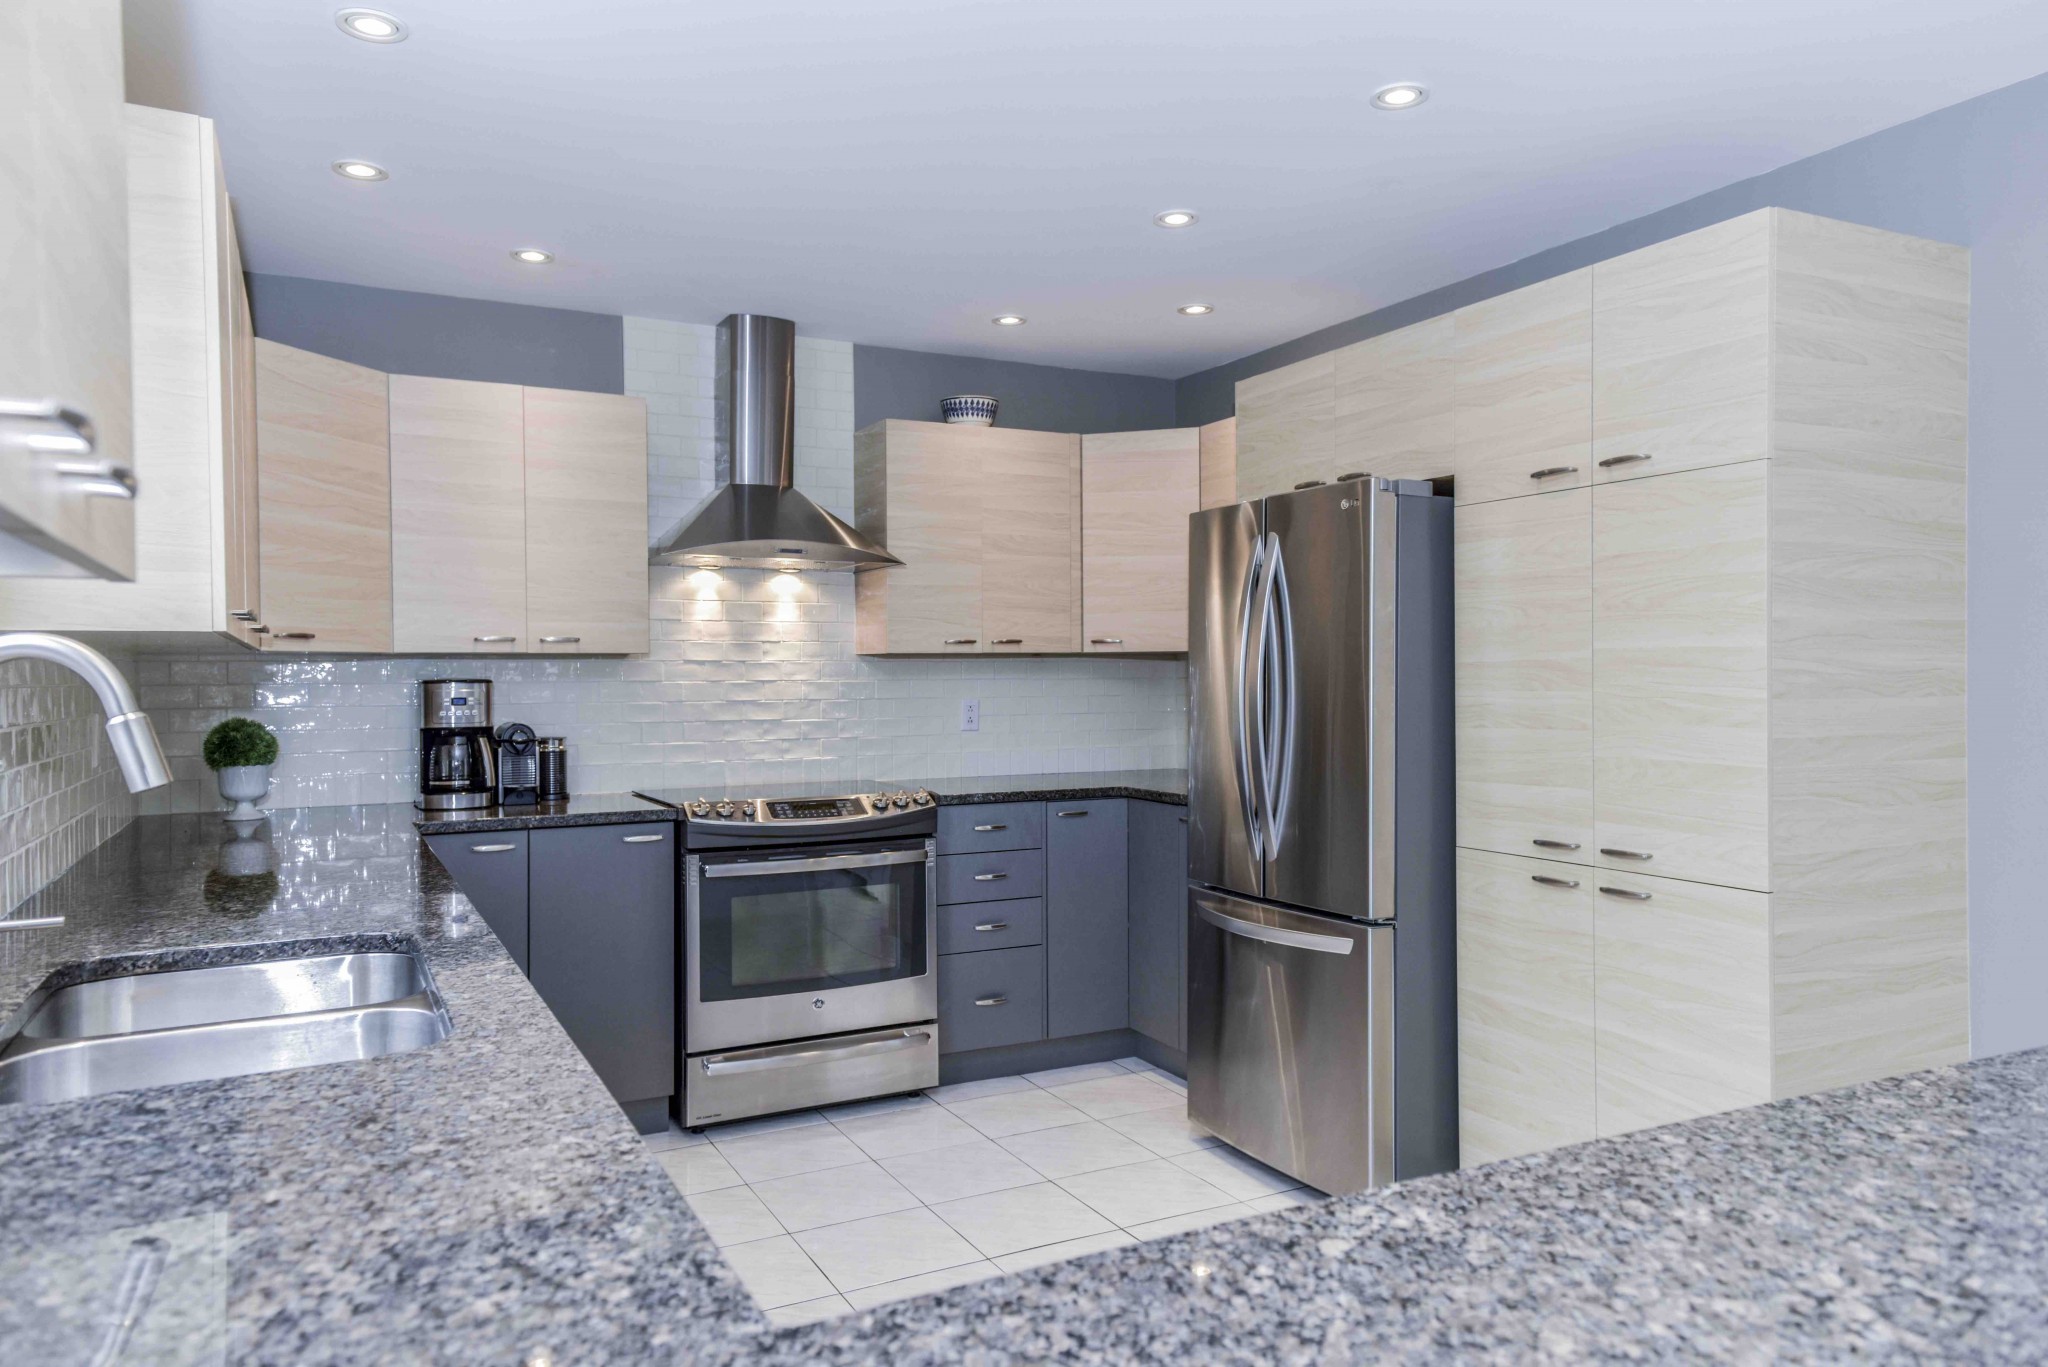
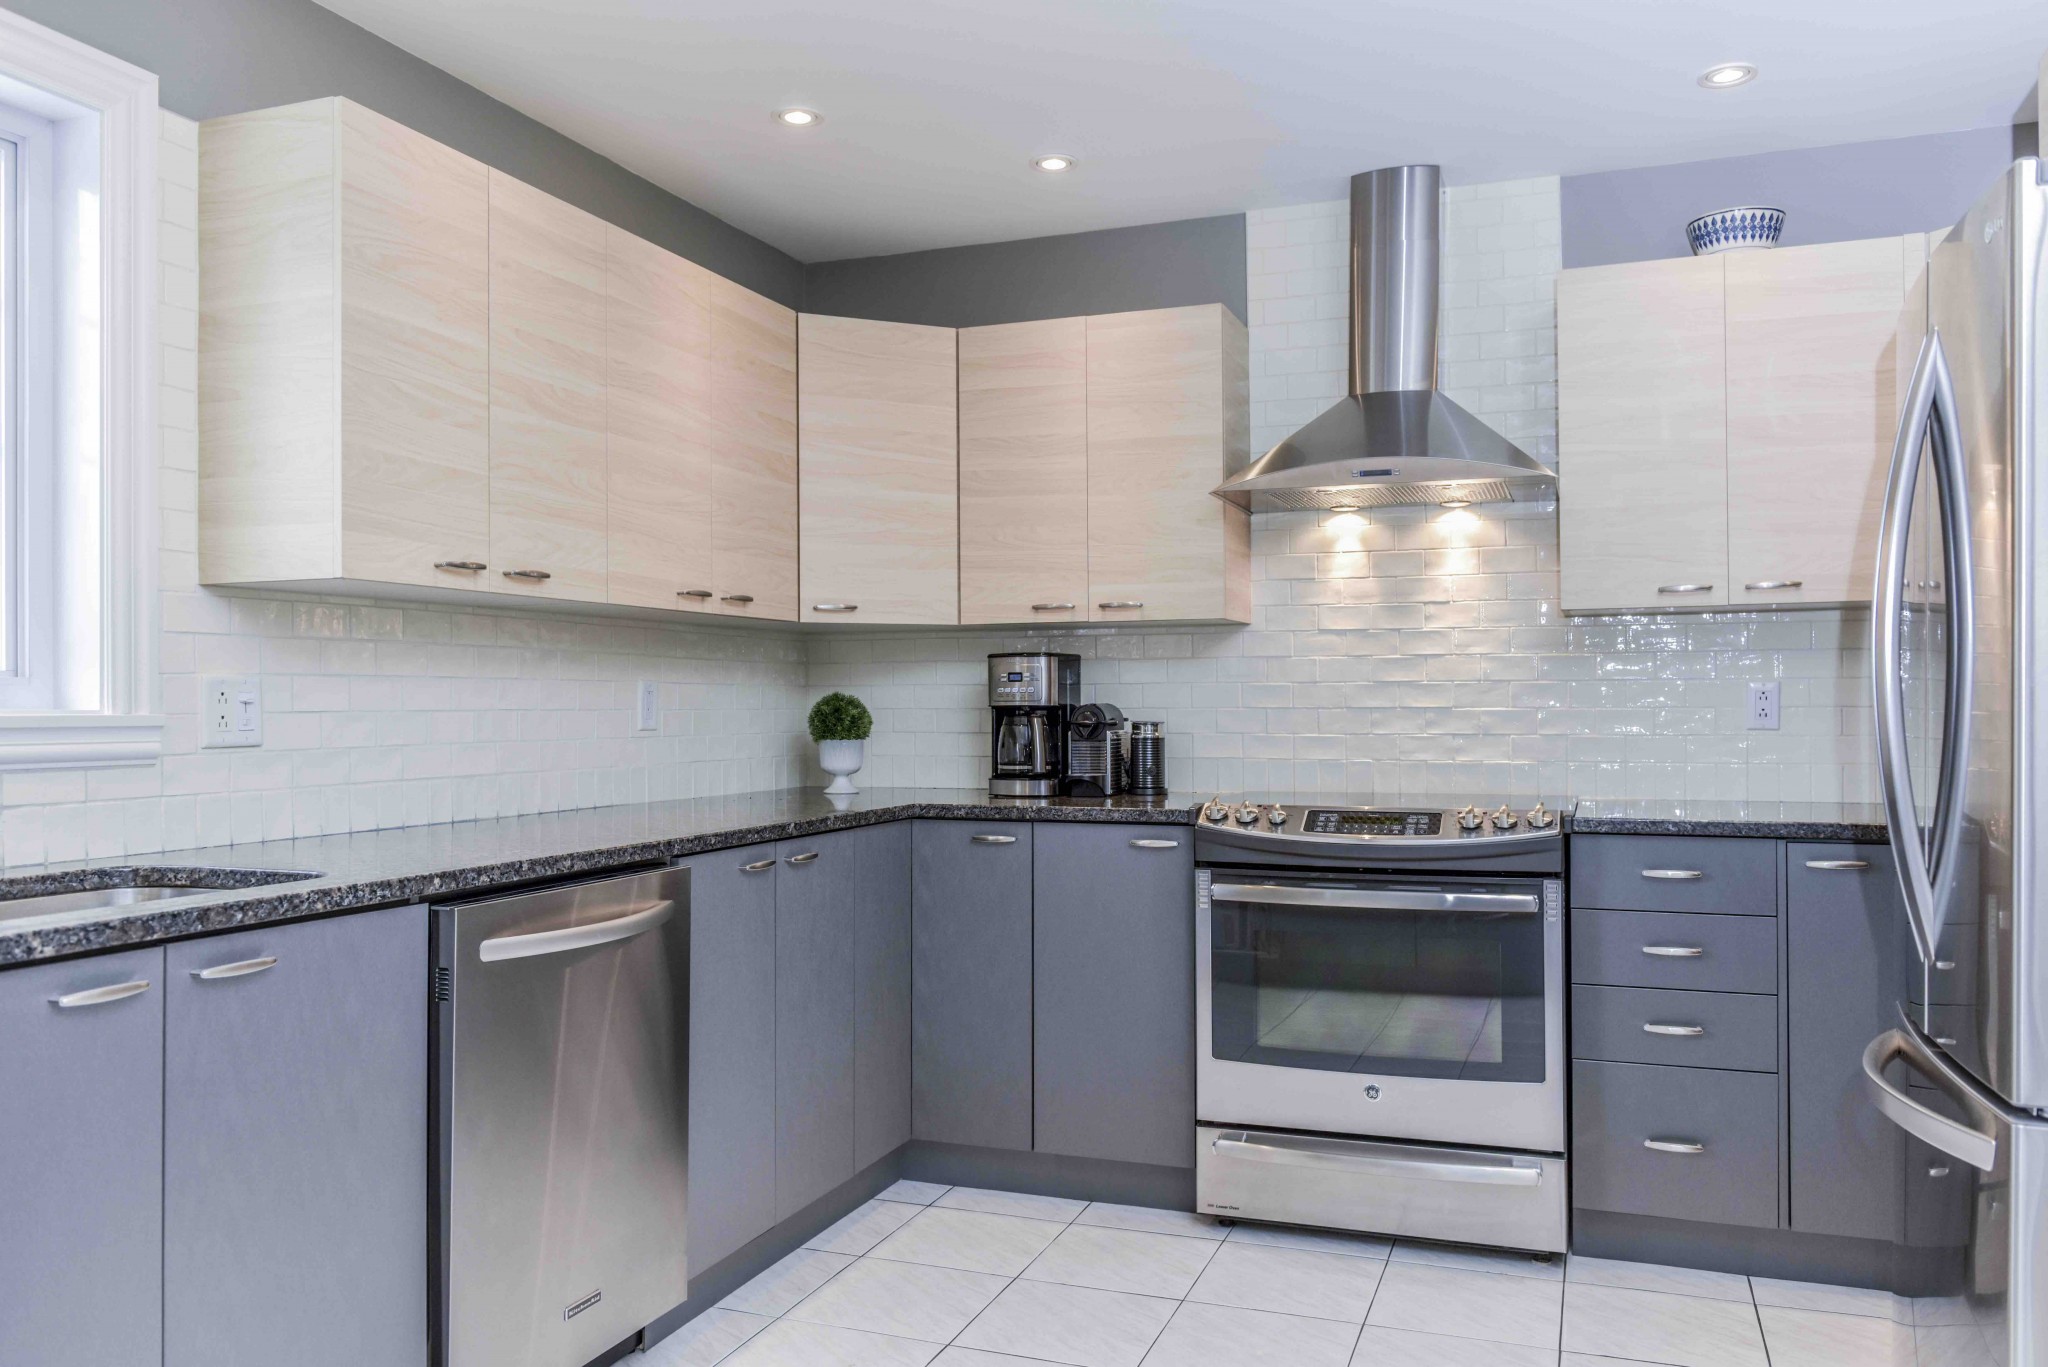
The clients’ kitchen before Wrap my Kitchen
I am sure you are familiar with the expression that the kitchen is at the heart of the house. It isn’t just an expression either, it truly anchors our lives by serving as the command center where feasts, gathering family or friends, are prepared, it is where slow-cooked meals simmer, and wines and cheeses are munched on. However, renovating this stronghold of the house can be a costly task and more often than not it comes with its lot of inconveniences and constraints. Between trends, budget, and time required to allocate to the project, the choices are numerous and sometimes difficult. Wrap My Kitchen meets these needs with a solution that is affordable, quick to install and available in various colours and finishes displaying very convincing realism. To introduce you to this Quebec company, I am sharing with you one of their before & after projects as well as the answers to five questions I asked myself.
Wrap My Kitchen in 5 questions:
What is it exactly?
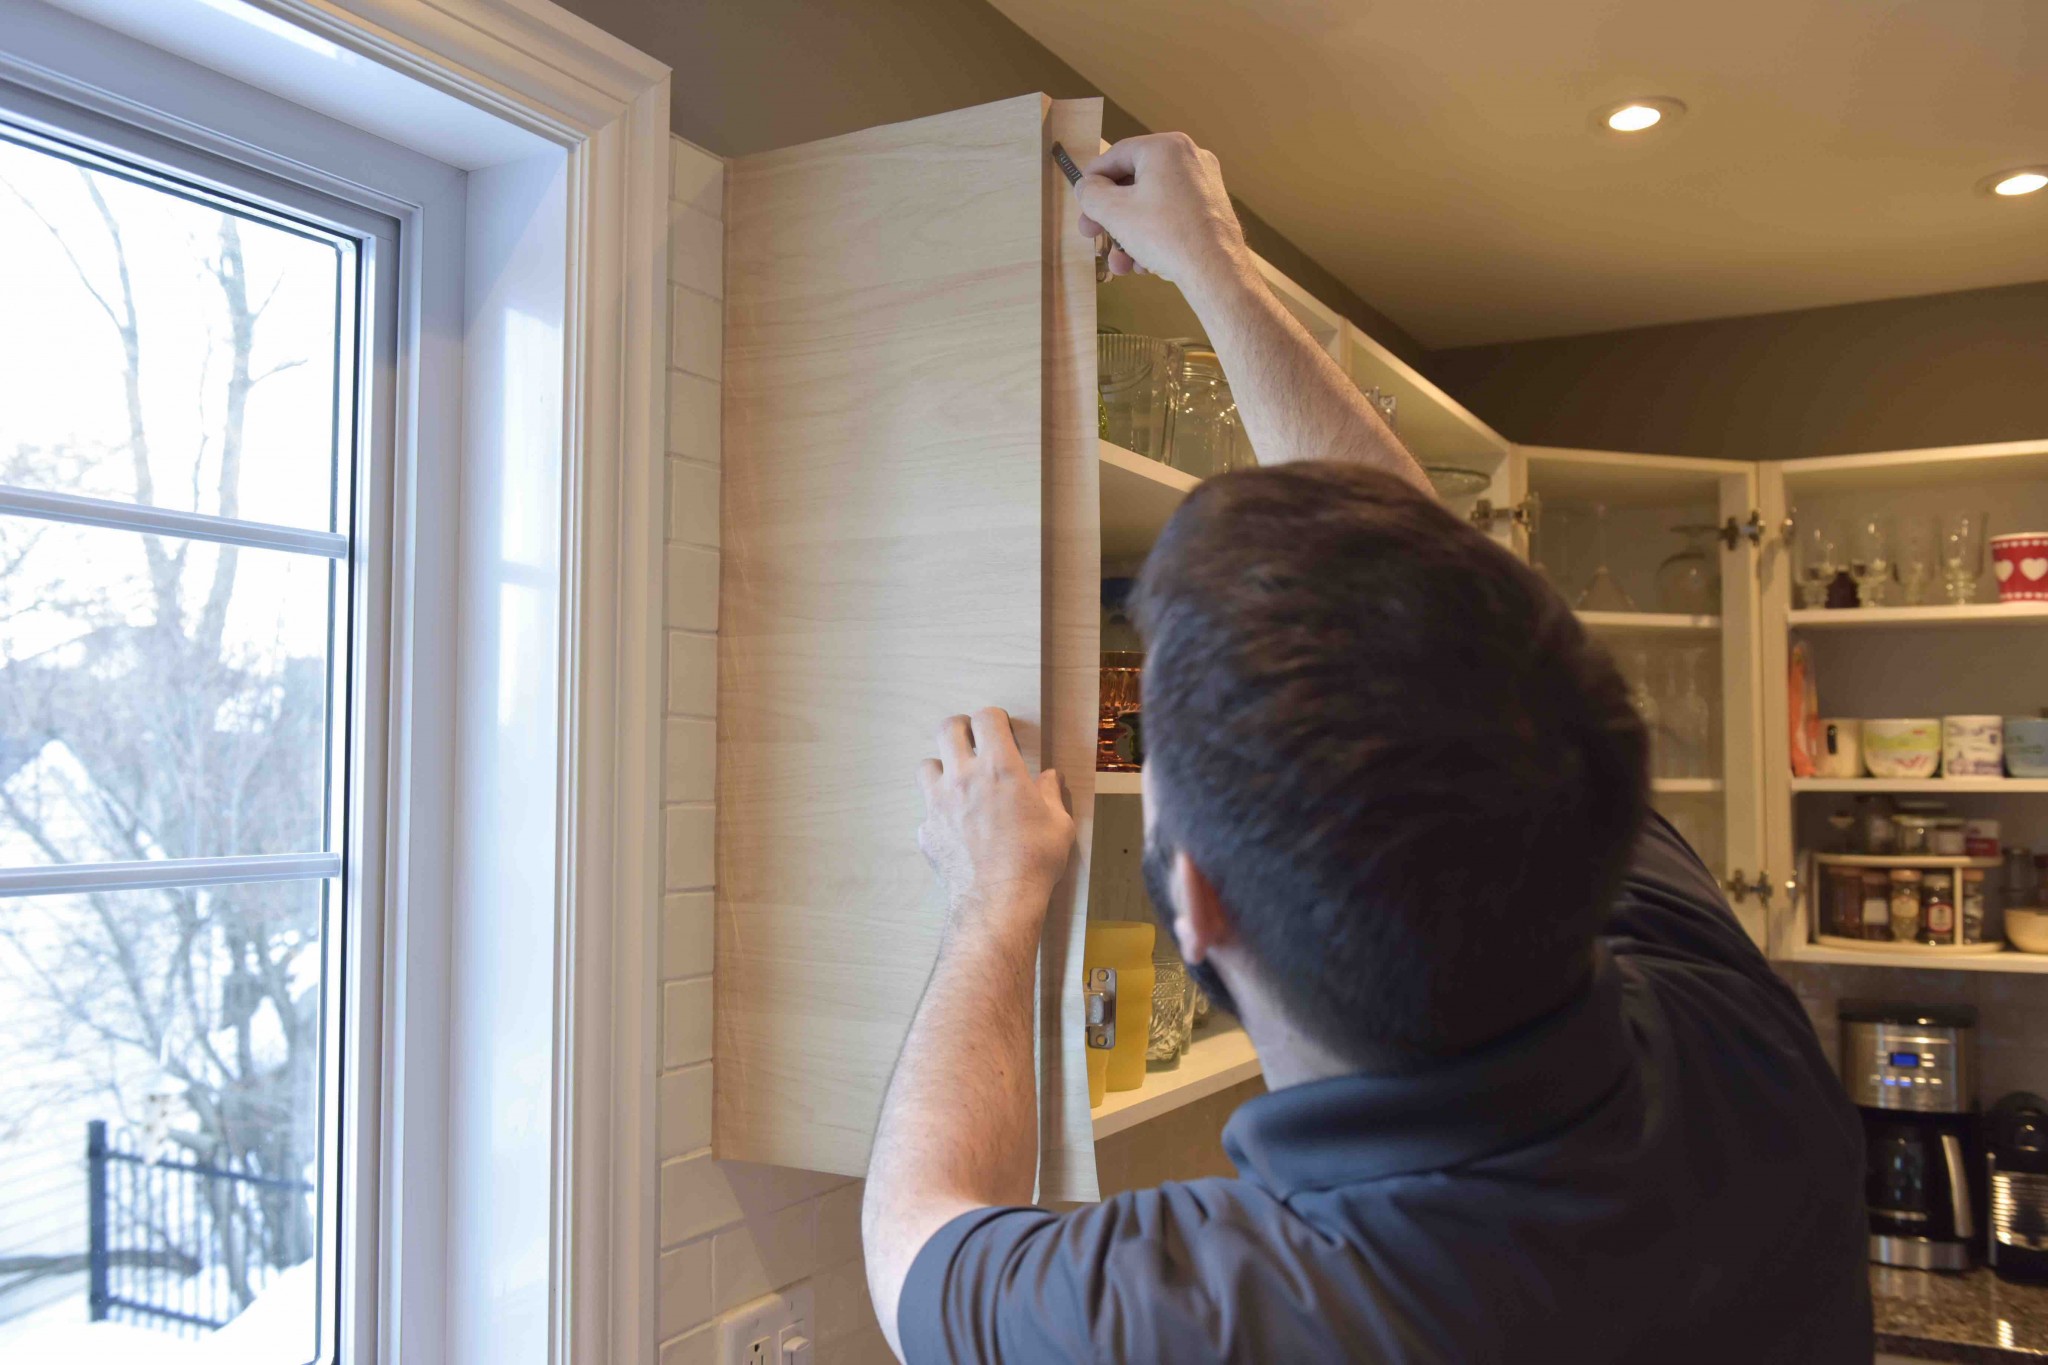
Wrap My Kitchen offers a very resistant self-adhesive vinyl made to cover kitchen cabinets, bathroom vanities or other surfaces around the house, except countertops. What sets this product apart from the rest is the Smart Wrap technology exclusive to Wrap My Kitchen. With an ideal balance between the thickness of the film and its ability to evacuate air during its installation, through its patented grid concealed within the adhesive side, the product is easy to install on your own, and above all without bubbles! If the prospect of installing it yourself doesn’t tickle your fancy, the company proposes a professional, fast and efficient installation service.
On which surfaces can the Wrap My Kitchen product be applied?
The film is designed to be applied to all flat and smooth surfaces, without relief or mouldings. Aside from melamine and solid wood, you can also cover MDF, actual plaster or gypsum walls, elevators doors, the inside surfaces of RVs and boats, commercial displays and more. For my part, I covered my own refrigerator with their black unicorn (of course!), and the film is still in place and looking fabulous, almost 5 years later.
How do I get a quote?
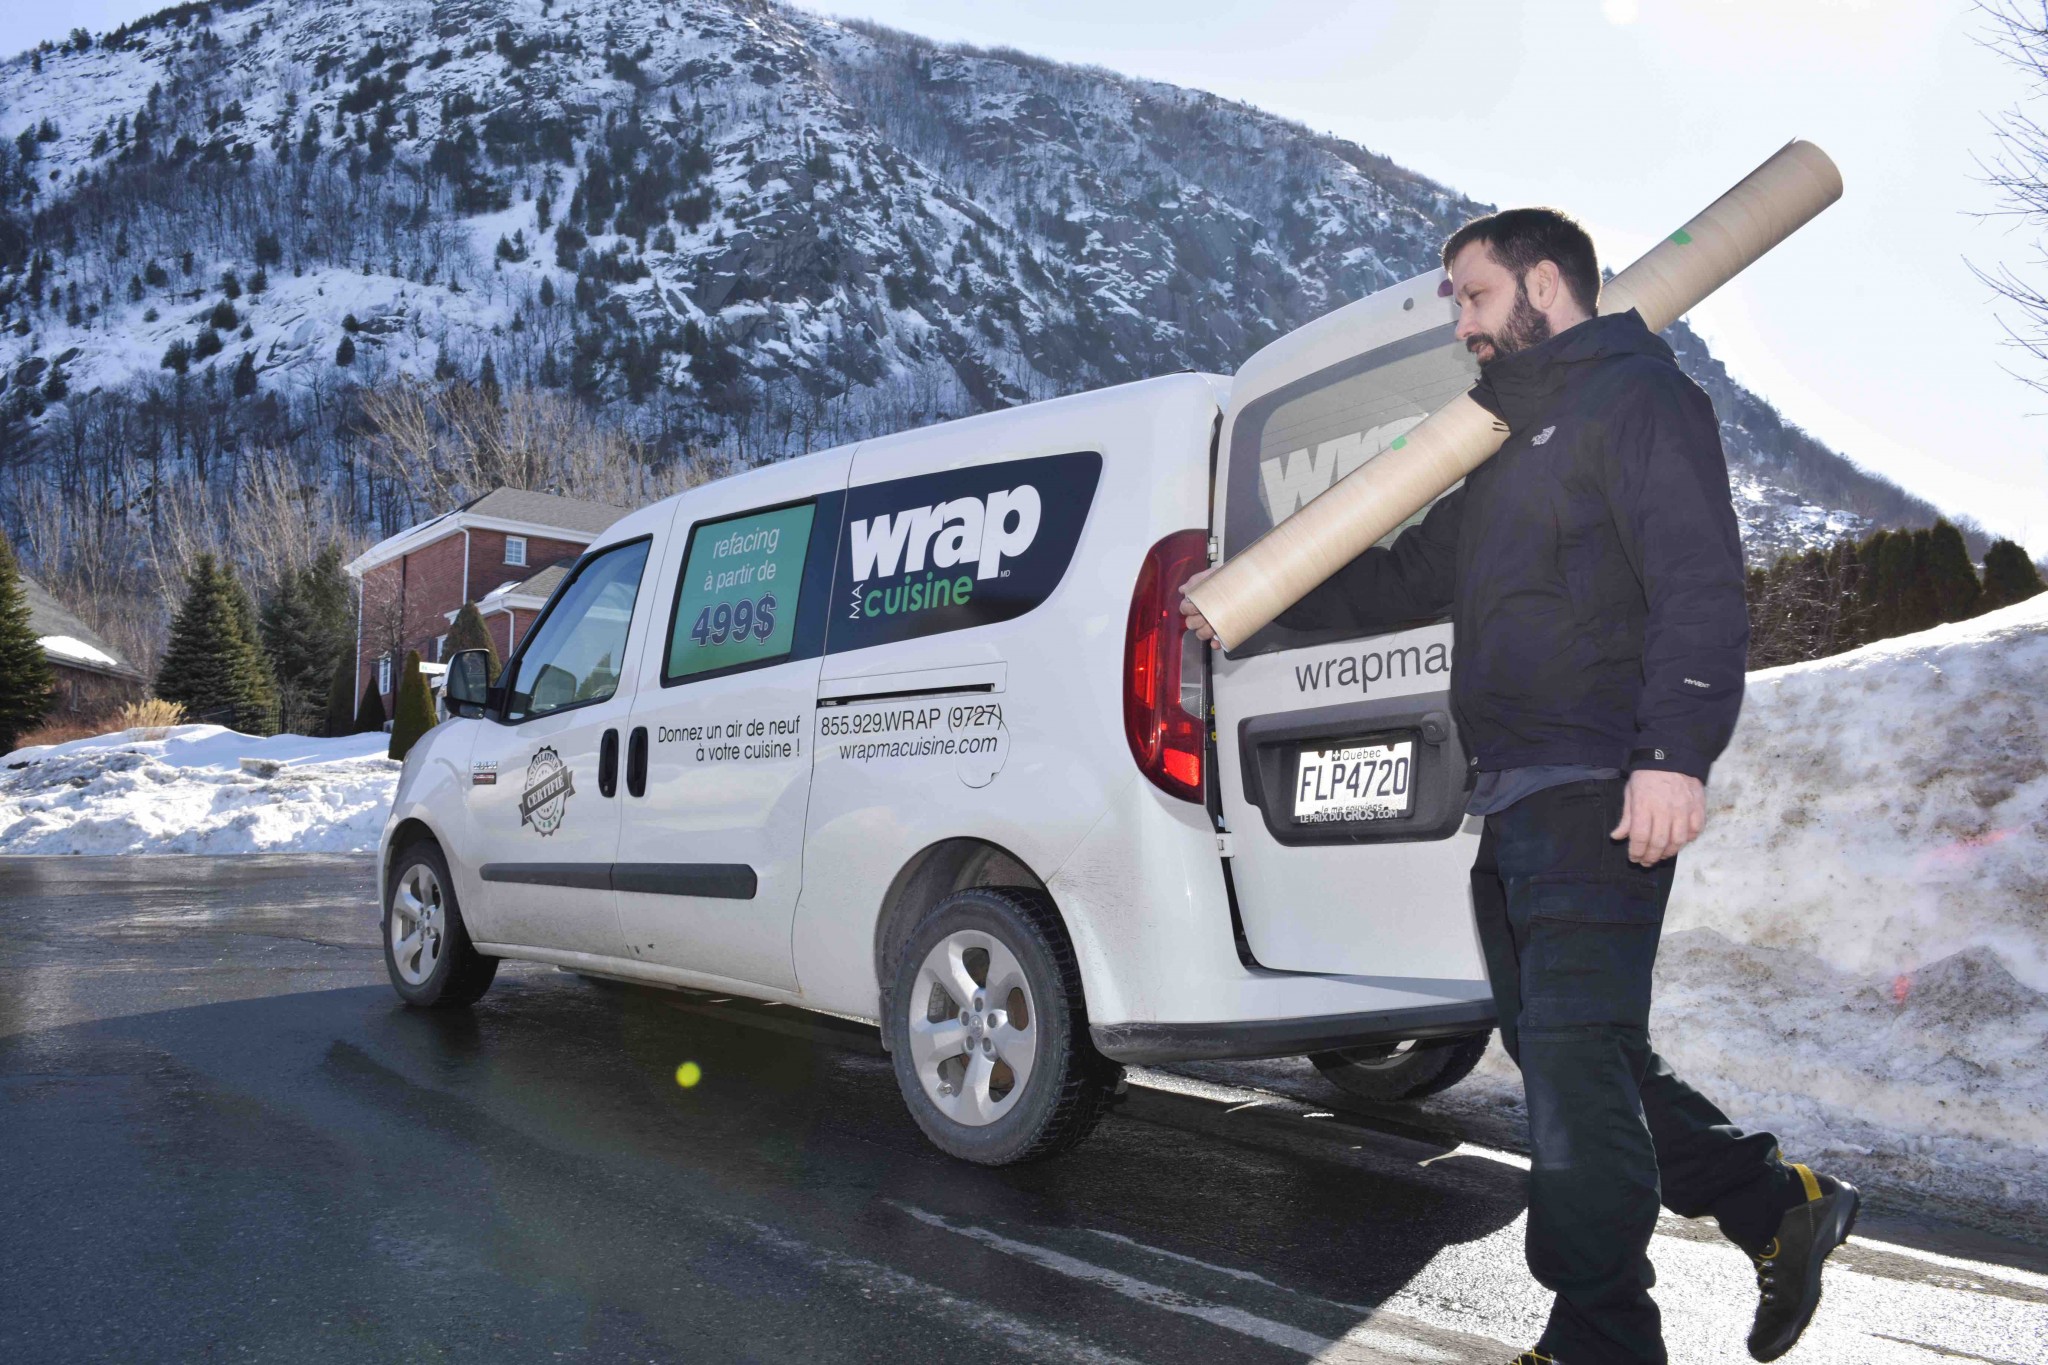
It’s easy to get a quick and free estimate from photos of your project just by clicking on the “quote” tab on their website. The company offers either the DIY formula which allows you to buy the quantity of film needed without installation or the turnkey formula which includes installation at home.
Is it durable?
My experience with the product is very satisfactory. It has been covering my fridge for several years now and I clean it regularly and it still holds up really well. I spoke to the owners of the house’s before and after presented here, and they also assured me that they were satisfied with the quality and handling of the film, which they described as a good “bang for your buck”. Wrap My Kitchen offers a 5-year warranty against discolouration and yellowing as well as the same duration of protection against delamination and air bubbles when the installation has been made by one of their certified installers.
It’s all well and good, but is it expensive?
In the case of this Mont St-Hilaire house, the cost of the project was 1,650$ {plus taxes & including installation service and 5-year warranty, but without door interiors}. If you bought the material only, the cost of purchase would be 800$ plus taxes. For a complete kitchen makeover, it is indeed excellent value for your money.

Some additional details on the project
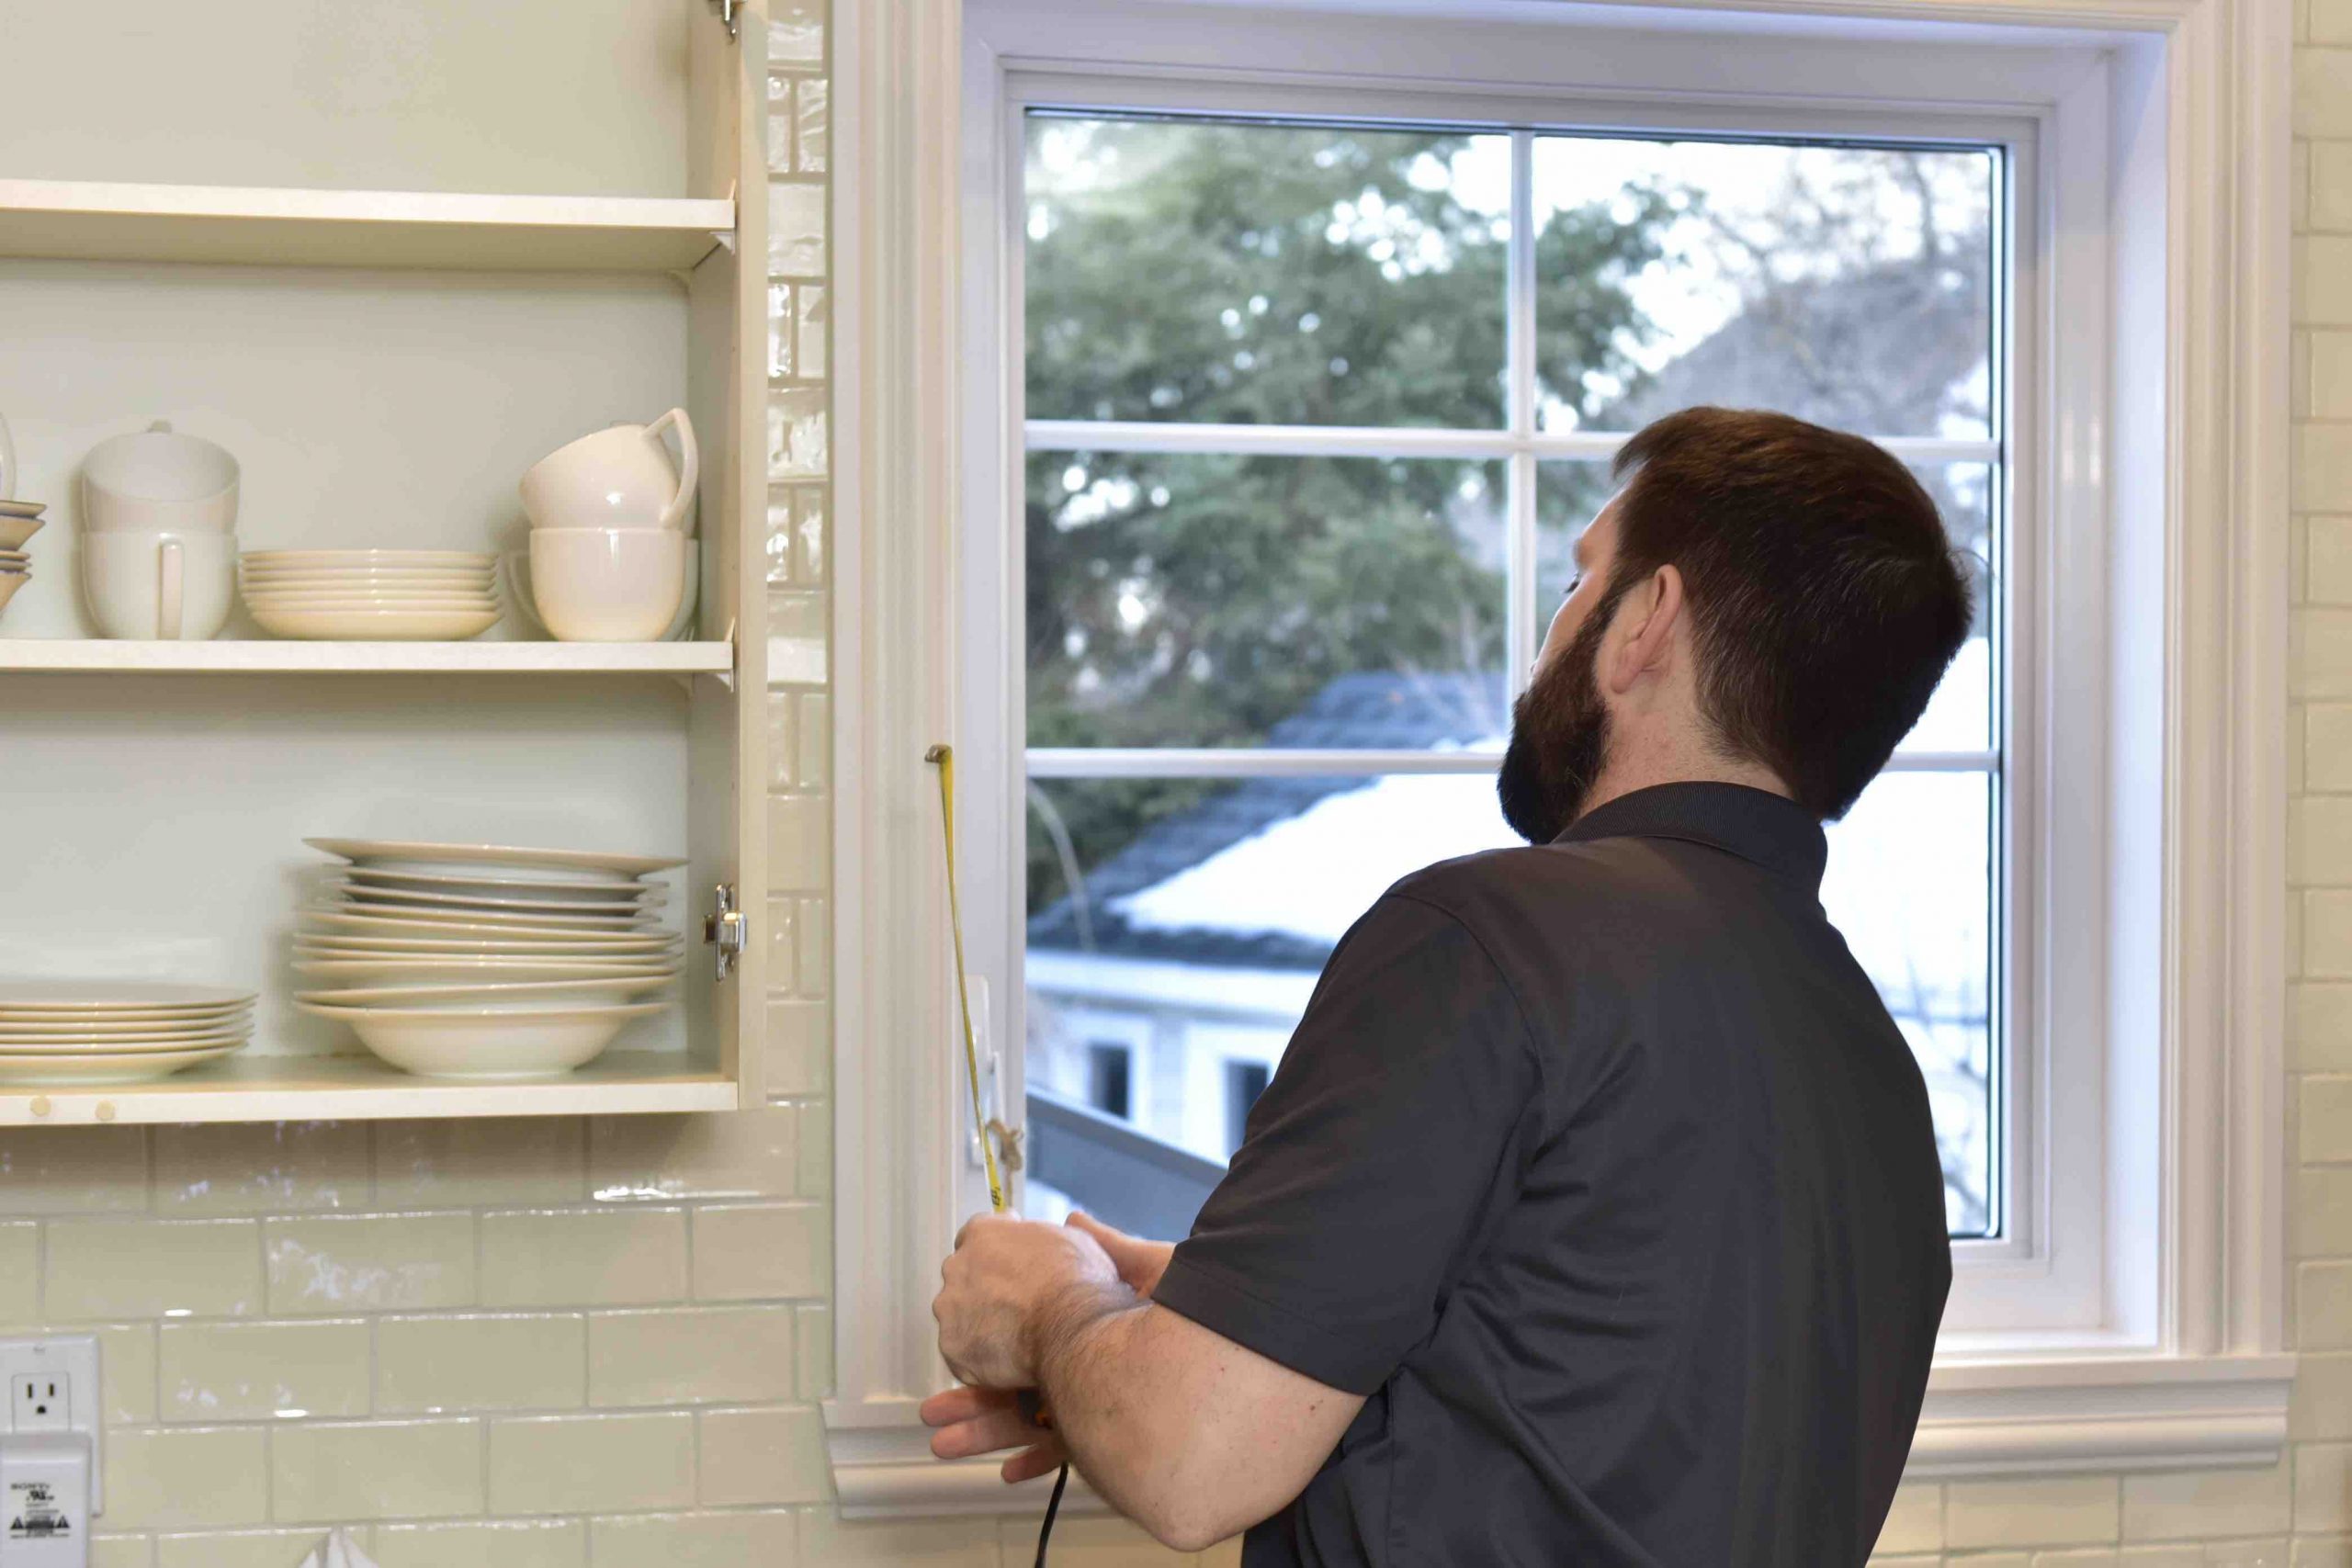
If you are curious about the finishes chosen for the St-Hilaire project they are as follows: Scandinavian blond wood WMK-013 for the upper cabinets & Brushed gray WMK-029 on all the lower cabinets. As I mentioned before, the project took only one day during which the installers took down all the doors and covered them individually, as well as the cabinet casings, before putting them back on.
This post is sponsored by Wrap My Kitchen, the content is mine.
35
I am in the Memphis, Tennessee area. Do you service this area?